![]()
Exchange Server 2003 came into this world on September 28, 2003. It brought with it a host of new features, including improved migration tools to ease the transition from older versions of Exchange, enhanced heuristic message filtering to help direct spam into the Junk folder, and, if you had Service Pack 2 installed, a database size limit of 75 gigabytes. This was unimaginably large for the time.
That was eight years and eleven months ago. In that time, we have also seen Exchange Server 2007 and Exchange Server 2010 come into the mix as well. If your organization is still running Exchange Server 2003, here are some reasons why it is time to upgrade.
- Microsoft created a handy chart to break down the differences between Exchange Server versions.
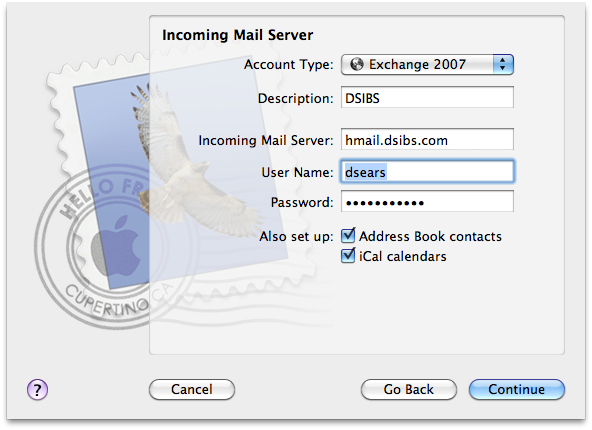
- Modern desktop mail clients like Outlook 2010, Outlook for Mac 2011, and Apple Mail all require Exchange Server 2007 or later, and they won’t talk to Exchange Server 2003 at all. So if you get a new Windows machine with the latest version of Office or one of those shiny new Macs, those users will be stuck using Outlook Web Access webmail to access email, calendars, and contacts.
- Outlook Web Access on Exchange Server 2003 forces browsers other than Internet Explorer to use “Light” mode, which just means that many of the features and options beyond simple sending and receiving email are disabled or invisible to anyone running a different browser (such as Firefox, Chrome, or anyone on a shiny new Mac).
- The 75 gigabyte size limit I mentioned before applies only to Exchange Server 2003 Standard, but there is a lot more email being sent today than there was 9 years ago. It does not take very many users with large mailboxes to hit that size limit, and when you do Exchange Server 2003 will shut itself off to prevent database corruption or data loss. That means no more email until the size of the database is reduced. The newer versions of Exchange Server do not have this limitation.
- If the software package is nearly 9 years old, chances are that the hardware running it is on its last legs too. While it might be running just fine, it is most likely out of warranty and may even be in End Of Life status, making replacement parts hard to find, making disaster recover more difficult, and increasing costs and downtime.
- The prospect of replacing an Exchange server can be a daunting one, costing many thousands of dollars. One way to avoid this expense and to simplify your office network is migrating to a hosted Exchange system in the cloud instead. By getting rid of your old office server, your business can keep running if there is an internet service failure or power outage in your building. Take a look at Everon’s own cloud email and business continuity solutions.
If you are considering retiring your old server hardware running Exchange Server 2003, there has never been a better time. And Everon can help you do it. Call us at 888-244-1748 if you have questions about server migrations or our cloud email solutions.