Here at Everon we primarily deal with the Windows environment. However, as Macs have become increasingly popular in the business world, we have gone with the tides and have been assisting in the troubleshooting of Macs, as well. At times, however, those two different types of operating systems can conflict with each other. Here’s how to solve that.
I, myself, have an Apple Mac on Mavericks OS and an HP machine on Windows 7 Professional OS. Sometimes I need to send files back and forth between the two, so my best idea was to set up a mapped drive between the two machines.
To do this, I started on my Windows PC and created a folder. Due to issues with security under user profiles, I created the folder on my C:\ drive called “Mac.” Once that was created, I right-clicked on the folder, and went into Properties ->Sharing and shared out the folder.
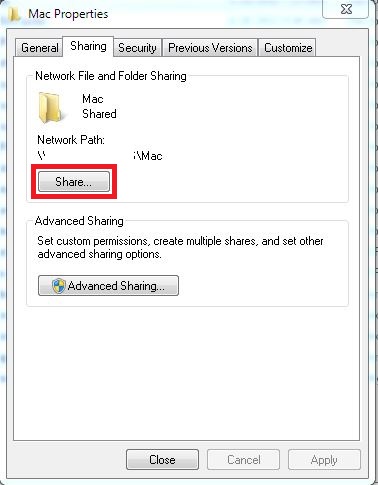 I then went into Advanced Sharing ->Permissions and ensured that “Everyone” was set to “Full Control.” When dealing with permissions in a Windows environment, it is always best to use your Security permissions as your more restrictive permissions. Sharing should always be set to allow everyone full control, and then you tighten it down from there. (Maybe I will write a blog post about that later.
 ![]() )
)
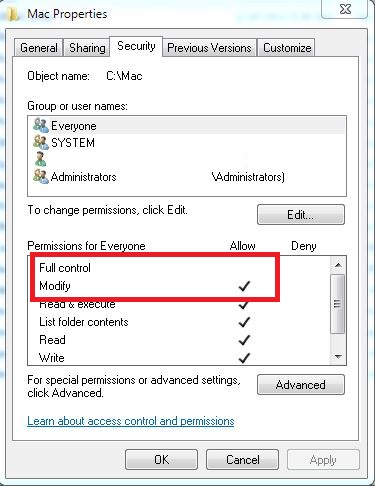
Once that is done, go to the Security tab and set your permissions. For me, since I wasn’t too concerned with the security of this share, I simply allowed “Everyone” to have “Modify” permissions (not “Full Control”). The difference between “Modify” and “Full Control” in a Windows environment, is that “Full Control” allows the user/group the ability to change/edit permissions and take ownership. This could mean that someone can lock you out of your own share. “Modify”allows creation, deletion, editing of files and folders inside that share, but does not allow for modifying any properties of that share.
 Now you can lock down your permissions to just your Mac (however, I am not going into that here). Once you have allowed “Everyone” the “Modify” rights to your share, you are ready to share it out on your Mac.
Go to your Mac, and in the Finder, go to GO ->Connect to Server:
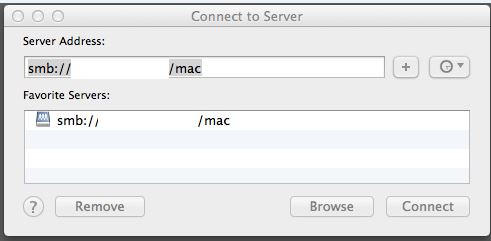
I have modified the image to remove my computer name. However the address string you need to type is the following: smb://{computername}/{sharename}. If you hit the + symbol, it will add this location as your favorites, so you don’t have to type it repeatedly.
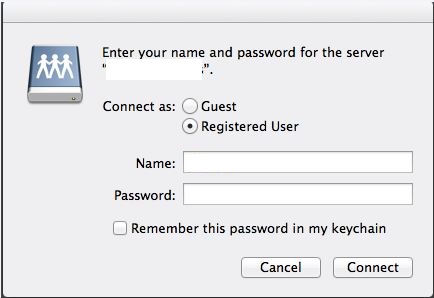
Once you have that set, hit “Connect.” This will pop up a new window requesting credentials. These are login credentials to your machine, so input your username and password, and hit Connect:
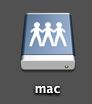
This maps the share to your Mac, and you are ready to go! As you can see, I have the mapped share set to show up on my Mac desktop, however this isn’t done automatically, as it merely opens the folder.
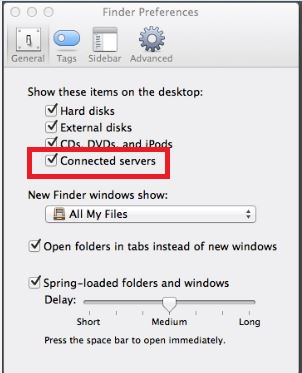
 To get the share to show up on your desktop, go to Finder ->Preferences, and inside Preferences put a check mark on Connected Servers. That is it!
 For more help with networking your office Macs to your office PCs, call our technicians at Everon at 1-888-244-1748!