Windows 8 Tricks: Creating a Picture Password

Standard


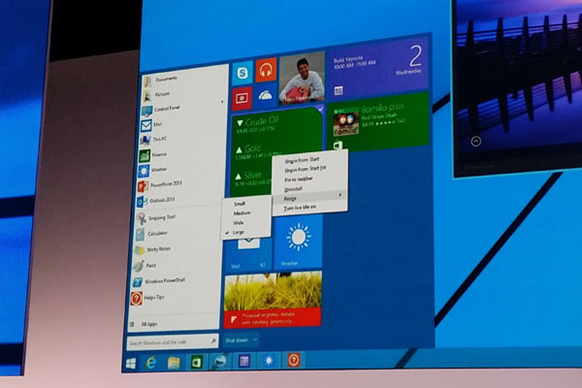
When Microsoft released Windows 8 they were targeting the tablet population. So naturally, with a tablet, they have built in some pretty neat tricks with hand gestures. One of the coolest tricks introduced is the addition of picture passwords.

In the past, when locking a machine, you would have to use a standard keyboard password that included letters, numbers, symbols, or any combination of those. With Windows 8 you can now choose a Picture Password. What this means is that you choose a picture, draw up to three gestures on the picture, and this will unlock your machine.

To turn on this feature, go to “Sign-In Options” under the Users tab (found under Change PC Settings). There will be an option for “Create a Picture Password.”

secure_Windows_8_2
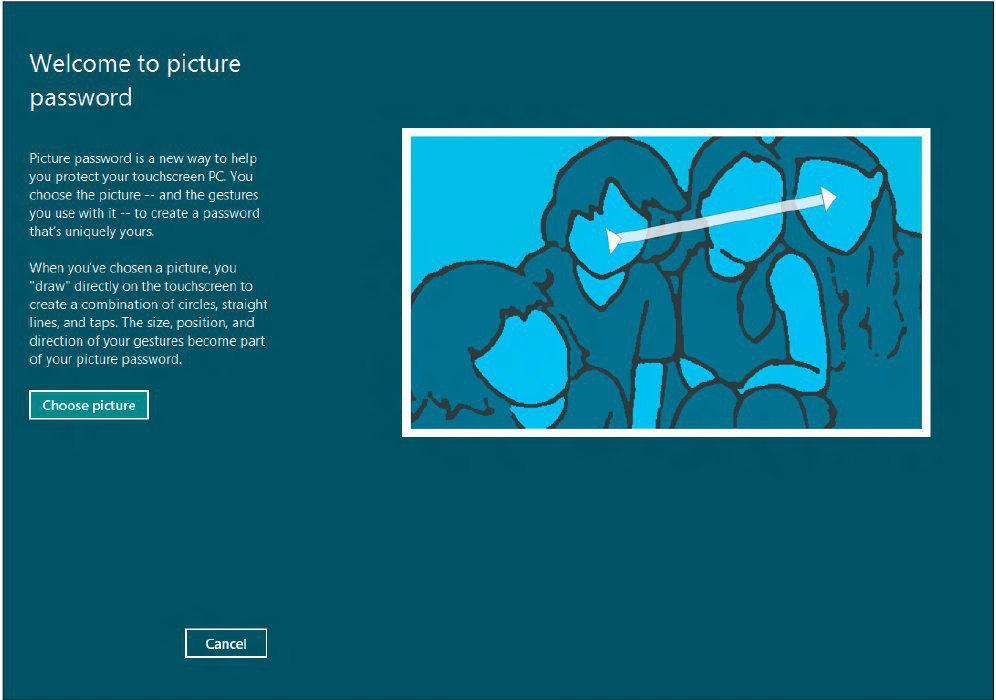
You are limited to what gestures you can put onto your picture. They can only be circles, lines, or taps. When logging in, you will have to use the same three gestures in the same three areas on the picture to get into the machine. But otherwise, it’s as simple as that.

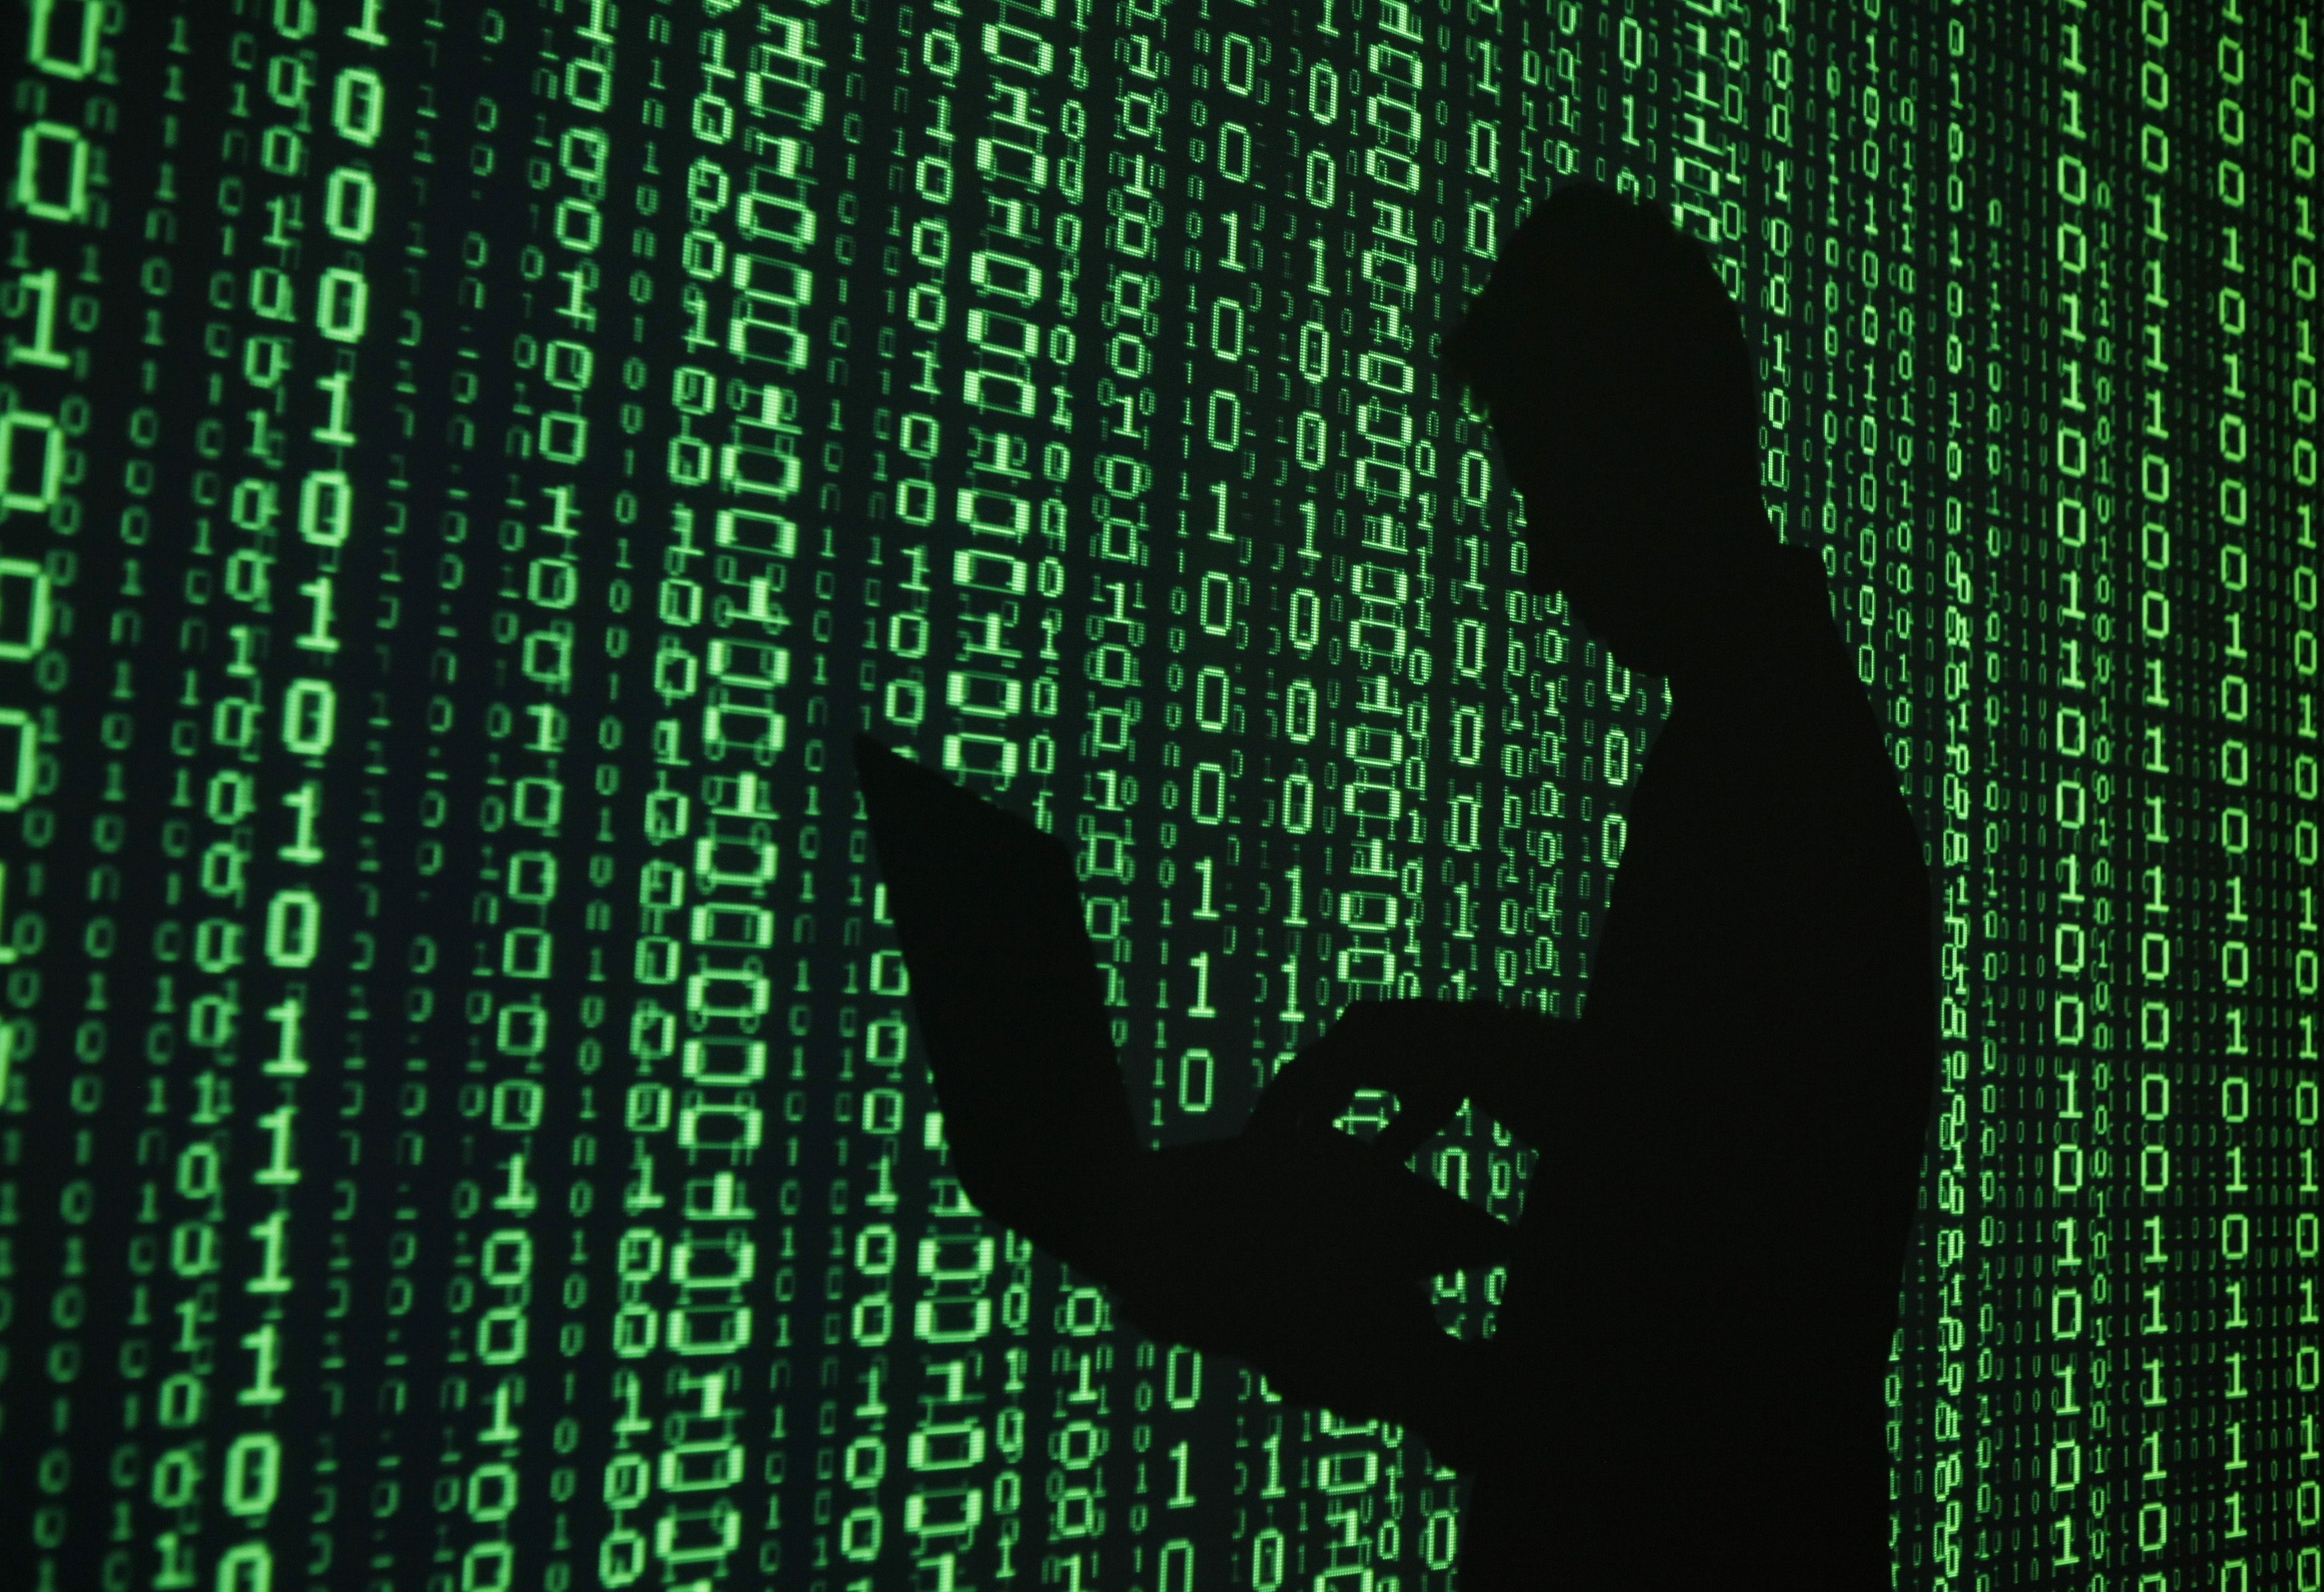
One thing to note: researchers at Arizona State University and Delaware State University believe this method of authentication can be cracked rather easily. You can read about their study here. Consider that when creating your picture password. (To understand how secure passwords are and how easily they can be cracked, check out my previous blog post detailing that information here. While the picture password option is a very neat idea, and can work in safe, internal situations, nothing beats the standard text password.)

To understand all of your options, and see some cool tips and tricks for Windows 8, feel free to reach out to our engineers at Everon: 1-888-244-1748. We’re here for you 24/7, 365.


Classic Shell: The COOLEST Windows 8 Software Yet

Standard


If you are like me, Windows 8 threw you for a loop. With Windows 7 and earlier, you could fly around in the OS, and life was simple. But Windows 8 forced you to think about where you needed to go. It also introduced the Metro design, in which you now had tiles. Tiles are great for anyone with a tablet, but not always convenient for office employees. 

StartMenu

Windows 8.1

Last year the highly publicized Windows 8.1 update came out, which added in a new-and-improved Start Menu. It was nice, but tiles were still a big part of that feature. Tiles are utilized in areas that are frequented by everyday users (Documents, Control Panel, Administrative Tools, etc).

For those who dislike the tile feature, I introduce to you… Classic Shell.

win7

Classic Shell

Classic Shell is software that can be installed on your Windows 8 or 8.1 machine, and get the look and feel you have been wanting. The nice thing about Classic Shell is its customization. You can make it look like a few variants of the Windows 7 start menu and you can also tell Classic Shell to boot to the desktop, so you are not defaulted to the Metro design.

Classic Shell also works on its Windows 8 server equivalents, such as Server 2012 and Server 2012 R2.

Give Classic Shell a try, and if you need help in customizing it, feel free to call our experts here at Everon at 1-888-244-1748. (Or email us at [email protected].) We’re here for you.


Turning Your Cell Phone Into a Wireless Hotspot

Standard


Recently I was asked about how to turn a cell phone into a wireless hotspot, for purposes of being able to go online with a laptop. I realized that this very simple process can be complicated for anyone who doesn’t know how to do it, so I decided to write a post to help give some of the basic facts.

“Tethering” is the act of connecting a WiFi-capable device, such as a laptop or tablet, to your phone so you can utilize your cellphone’s cellular data to get on the Internet. This is a more secure option, offering you more privacy than, say, using the WiFi at a coffee shop. You are essentially turning your cellphone into a wireless router. It’s easier than you think.

The first thing to know is that this process is not free. You have to check with your phone carrier and add a tethering plan (or hotspot plan) to your service. The cost varies depending on how much data you want to have (or be limited to). In my case, I have AT&T. You can review some of AT&T’s monthly data tethering plans here.

Once you have a tethering plan in place, it’s very simple to use. My example is going to be on an iPhone. If you would like instructions on how to tether using your Android device, click here. You can also click here for instructions on tethering with Windows mobile.

For tethering with an iPhone, go to Settings ->Personal Hotspot, and turn on the slider button:

IMG_0104

Once you turn the Personal Hotspot feature on, it actually gives you instructions on how to connect your device to the phone. In this instance, our SSID (the name of our hotspot) is “Oncall,” so you will search for that SSID, which should now be discoverable.

Once you choose that, you input the special, randomly generated password you see on the Personal Hotspot screen, and it should connect you instantly. Note: even though your hotspot is discoverable by you, others won’t be able to log onto it, as they won’t have the password. Also, you do have the option to set your own password by clicking on the > next to the password. This will open a new screen that requests a special password for the hotspot.

IMG_0105

In some cases, it is more feasible to have a personal hotspot off of your phone, rather than to actually have Internet access at your home. I have met some people who get such slow speeds at their house that they use this method as their only way to connect. It is incredibly reliable and is great for any person who is constantly on the move but needs to stay connected. (If you are interested in how fast your 3G or 4G speeds can be, check out this great article that shows the latest speeds, as of Dec. 2014.)

For further information on tips and tricks you can do with your smartphone (in particular iPhones), be sure to check back here for my next series of blogs that outline cool things you can do with your smartphone. And remember, if you have any questions while you are trying to set up your own, personal, wireless hotspot, you can always contact us at Everon: 888-244-1748 (or [email protected]). We’re here for you 24/7, 365!

Can Your TV Steal Your Information?

Standard

Hacker

This morning Samsung revealed to customers that there is a possibility that its Smart TVs are listening to your conversations and sending your data off to a third party company. It’s warning users not to talk about sensitive and personal details in front of their TVs.

This warning sounds like something out of a sci-fy movie, but, unfortunately, it’s here.

Samsung states they want to be as transparent as possible, so in an effort to do so, they mentioned that if users utilized the voice recognition software on their Smart TVs, what they say can be picked up by a third party. The assumption is that the third party picking up the data is the voice-to-text translation software. To further clarify Samsung’s comments in their privacy policy, they reiterate that they are not selling any data or storing any data themselves.

This is not the first time we have heard about your devices listening and watching, and unfortunately will not be the last. Since technology has gotten better, many items that have voice recognition and listening capabilities are subject to being hijacked, in order for hackers to get your data.

In 2013, LG was found to be storing important information from their Smart TVs. They have since created a software update that has stopped this functionality, but not before it was discovered by an end user. (That information can be found here.)

For a long time, too, the XBox Kinect, with its listening and viewing powers, has been at the forefront of concerns about its security. Microsoft’s take on this is that you can turn the Kinect off, so it is not always viewing and listening. However, it is reasonable to assume that even with the device off, if the XBox, itself, is connected to the Internet, a hacker will find a way through eventually. If it hasn’t already happened, that is.

Just a few months ago, it was revealed that a Russian website had hacked thousands of baby monitors and displayed their feeds online for anyone to see. Once this site was outed and taken down, the bold hacker posted his resume online, in an attempt to get a proper job based on his elite hacking skills.

Instances like these should not be taken lightly. It goes to show just how important basic security for your home network has become. (In Samsung’s case, they state that users can opt to turn off the voice-activation feature, on the “Settings” within their Smart TVs.) In this age of always wanting to be connected to the Internet, end users are constantly getting hacked and exploited.

This informational sitegives a great view of the hacking breaches throughout the world (that are known). The data is pretty damning. Hacking is becoming a common occurrence, and it is believed that foreign governments could be driving this onslaught. In the case of Anthem, it has been speculated that China is involved, and in the case of the Sony Pictures hack, it is widely believed that North Korea was the culprit.

We have discussed on our blog many times on how to protect yourself (start by checking here, here, here, and here). In 2015 it seems as if the need to protect yourself has never been more apparent.

Stay tuned tomorrow, when we’ll publish a basic primer on home network security. And remember, if you have questions or need help getting set up, you can always contact us at Everon (888-244-1748, or [email protected]). We’re here for you, 24/7, 365.


Tech Tips for Techs: Outlook Signature Creation

Standard


I recently had a client ask me how to input photos and hyperlinks into  his Outlook signatures, to make them stand-out better. I realized this is an often-overlooked art that should be well-known.

In order to recreate the steps necessary for this blog, I am using an Exchange account with Outlook 2010. Your results might vary.

In order to edit and create signatures, in Outlook 2010 you can browse to:

File ->Options ->Mail ->Signatures. 

This opens a window that allows you to create and edit your signatures. Let’s start by creating a new signature. 

Set up the normal text you need in the signature. As you can see, the options you are given is very similar to Word. You can modify the color, font and size of all text. Input everything you need and, once done, you are ready to insert hyperlinks and really take your signature to another level.

The first step is to download all of the photos you need in your signatures. Many professional social media sites give you links that they prefer you to use. Microsoft also gives you links and a brief tutorial here as well.

Once you have the photos downloaded, you can insert them into your signature. Click on the “insert picture” link, navigate to your photo, and insert it into your signature.

Sign1Once your picture is in the signature, click on it (you will see blocks appear around the picture) and click the hyperlink button.

Sign2

This opens a new window that allows you to type the hyperlink you need to input.

sign3The middle area does not matter what it is set on. You just to have to ensure you are choosing the first option on the left “Existing file or Web Page,” and then type the address properly in the address bar. Once you do that, you will have a clickable link in your signature!

A couple of things to note about Outlook signatures: The type of signature creation I am reviewing with you is only for users who can read HTML emails. If the client to whom you are sending an email cannot read HTML for their email (i.e. if they are using Outlook Web Access), then they can only see Plain Text.

Plain Text is a type of view that does not allow for pictures, or any editable features, such as colored, specialized fonts. I would also recommend creating a signature that you can use for Plain Text, should you need it. This is just a standard signature with no color, no special fonts, no pictures or hyperlinks. You can then pick and choose what signature to use. This is convenient to ensure any formatting you create always stays current with your brand.

Also, once you input the pictures, you do not need to save them on your machine, as once you input them into Outlook, Outlook takes the pictures and saves them into their AppData. If you set up your signature and test, be aware that if you are testing with an account that cannot send the email back in HTML, it will break the links.

One example is if you set up the links, then send to your Gmail account, and respond via Gmail on a smartphone, it will send the email back and the formatting will show the name of the picture, and NOT the picture itself (hyper-links will still work, but you won’t see your photo)

See below for an idea of what this looks like when you receive a reply that is not formatted in HTML:

sign4


Pictures can be in any format that is acceptable for pictures (.gif, .jpeg, .png), and when you add them to your signature, it really enhances the look and marketability of your brand!

Sign5